The guide below details the steps for uploading 360° assets via the Avatour Host dashboard, and reviewing it in Avatour.
Step 1: Create a 360° video file
Avatour can ingest and play back 360° videos from a wide variety of sources. The basic file requirements are as follows:
- MP4/MOV file container format
- H265 or h.264 video compression format
- Equirectangular projection (this is the industry-standard 360 format)
- Maximum resolution: 5760x2880 (only monoscopic 2D360 files are currently supported)
- Maximum frame rate: 60fps
Don't know how to create a 360° video? Don't worry, we've got you covered.
Here's instructions on recording and editing your 360° videos using your Insta360 camera or Pilot One/Pilot Pano cameras.
Step 2: Upload video files as "Assets" to your Avatour Library
Option 1: Uploading via Mobile
Labpano Pilot camera users have the ability to upload pre-recorded content directly from the Avatour app. Please see our article for a full step-by-step guide if using this 360 device.
For Insta360 users, Avatour hosts are able to log into the Host Dashboard at avatour.live/login from a mobile browser and follow the steps below to upload offline content:
1. Open the left menu pane option and select "Assets".
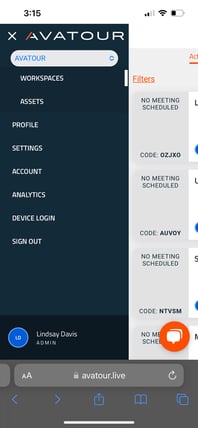
2. Once this page has loaded select the orange "Upload Files" button in the top right corner to access your phone's media library containing the exported files
.jpg?width=198&height=428&name=image_123650291%20(1).jpg)
.jpg?width=198&height=428&name=image_123650291%20(2).jpg)
Option 2: Uploading via PC
If wanting to store and upload the files via a PC, the following video tutorial walks through steps for locating these files, transferring them, and ultimately uploading as assets to your Avatour Host Dashboard.
1. Connect 360 device and transfer video files to your computer
2. Log into your Avatour Host account.
3. Select the Assets option on the left side panel
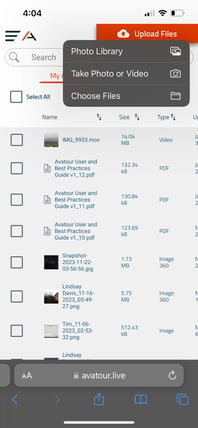
4. Click the orange “Upload Files” icon from the upper right corner.
5. Select compatible .MP4/.MOV video files for upload as assets
Step 3: Adding Assets to a Workspace
From the Host Dashboard, navigate to the Workspaces tab, select the three dots next to a Workspace, and choose "Add Assets" then "Choose from Asset Library".
Simply select which uploaded Assets from your "My assets" library you wish to add to your Workspace.
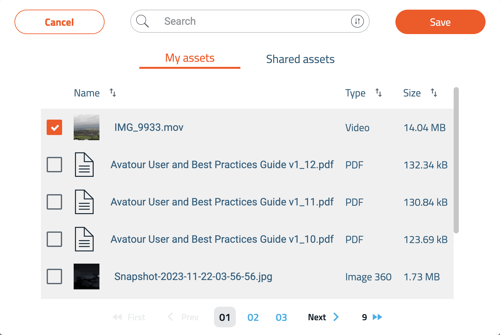
Once finished select Save to secure these selections.
NOTE: Once your file is uploaded, it can take some time for the video to be processed, depending on capture resolution, bitrate, and duration. Figure about a 10:1 processing time; that is, if your video is 20 minutes long, expect about 1.5 hrs of processing before the asset will be available.
Step 4: Playing an Asset during a Meeting
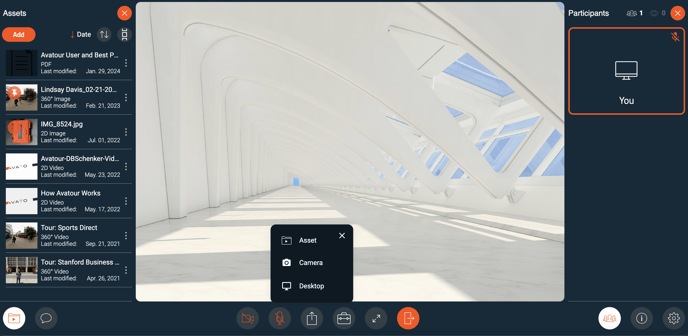
To access an uploaded asset during a meeting, select the "Present" button then click on Assets which will open the Assets tab and allow the selected files in the previous step to be available for playback.
If you run into issues with the steps above, please reach out to us at support@avatour.com